
I’ve fallen in love: with the countless possibilities of ceramics.
Gateway Drug
I’ve watched hours of YouTube and Instagram and am amazed at how many clay bodies exist and how many different ways each can be fired into a shard.
It took about a year before I wanted to modify the clay for the first time and started experimenting with copper, cobalt, iron, and titanium.
The more I learned…
…the less I knew.
I slowly realized that this alone wasn’t enough.
When I add more oxides to the clay, I also change properties like shrinkage, porosity or vitrification, thermal expansion coefficient, glaze adhesion, color bleeding, food safety…
I had to do a lot of reading and research. I mainly relied on Digitalfire and Glazy. Plus some individual insights from YouTube and a few basics from Wolff Matthes’ “Keramische Glasuren”.
And I’m hardly any wiser now. The only solution is to experiment!
What do I actually want?
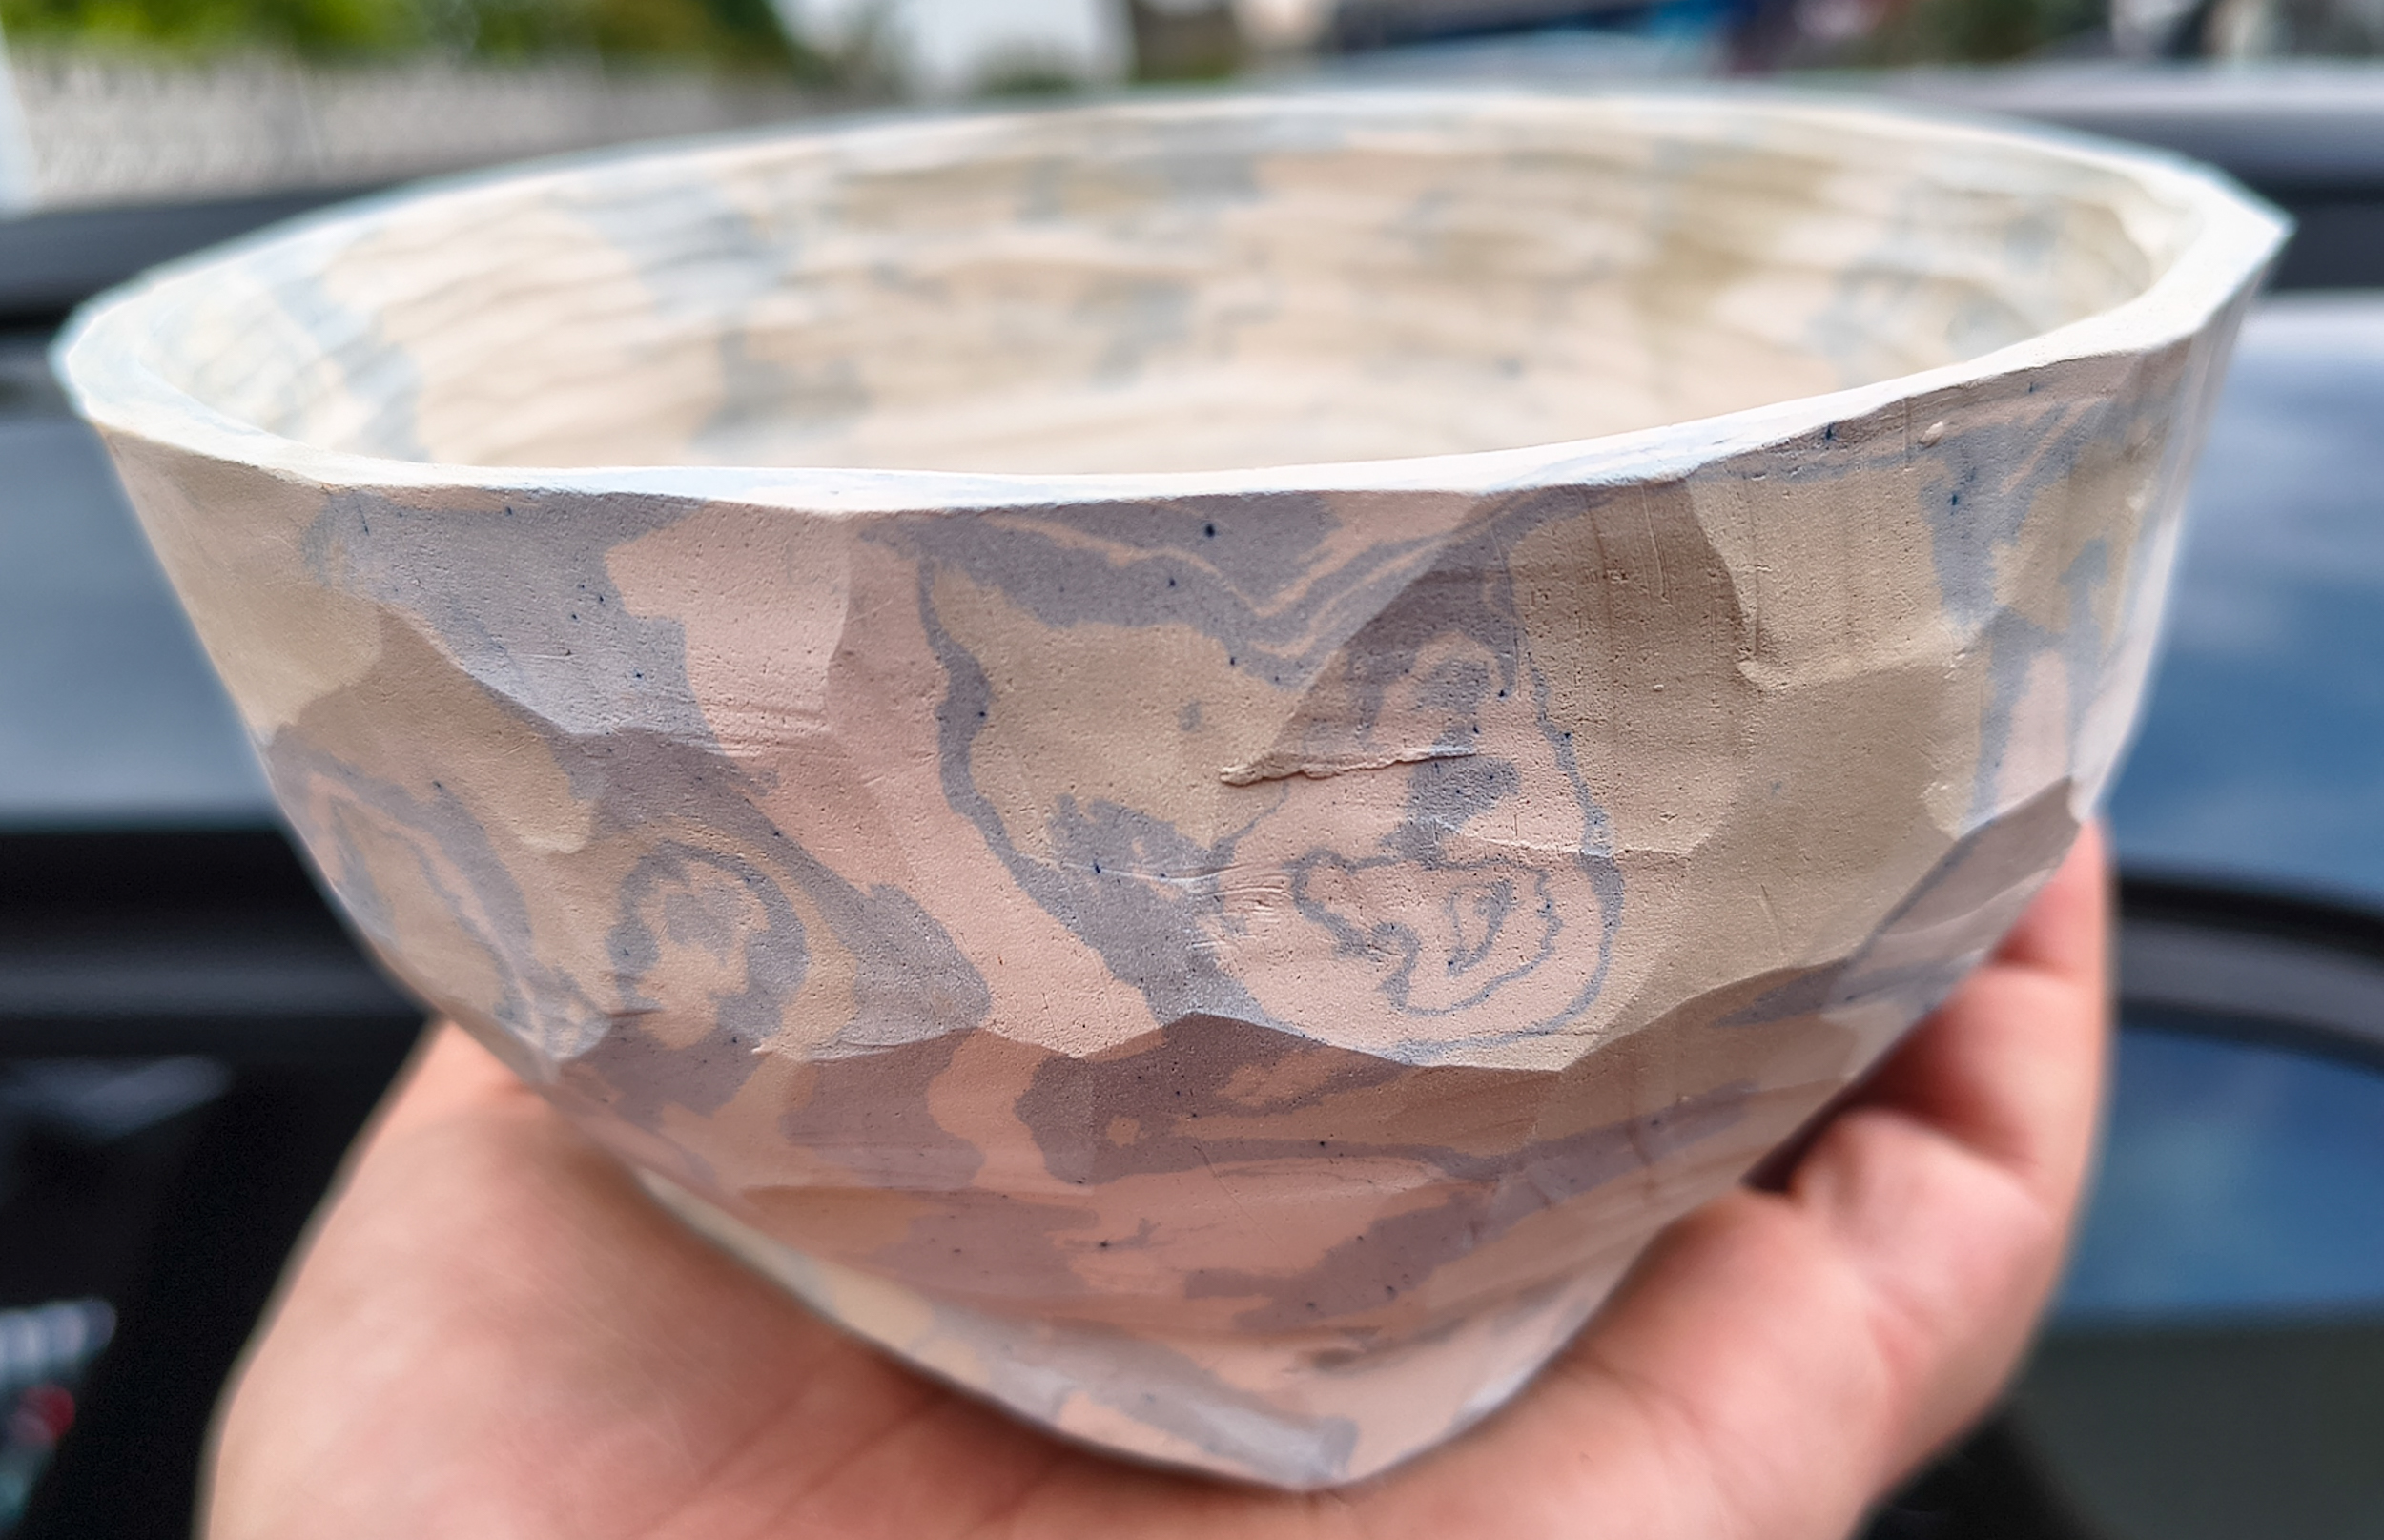
It helps to know what you want. I’d like the option to use the shard for food even without glaze. At least for dry foods. A dream would be usability with coffee, tea, juice, and so on—meaning hot and/or acidic foods. And because I like organic surfaces, I want a warm, earthy surface with small irregularities. These could be light or dark spots. Or entire areas that differ slightly.
This already leads to several requirements:
- Vitrified
- High-fire capability
- No toxic components (like cobalt, copper, and others)
- Flux content, preferably CaO or K2O
- Plasticity for modeling
- Bisque shard open-pored
- Thermal expansion coefficient should match existing glazes or suitable ones must be mixed
…In short: I want the impossible.
Try and Try Again
I really enjoy using Witgert 11, a stoneware clay that fires to a white or off-white color. Based on this, I’ve developed four recipes: two warm browns and two cold browns—each in a version with grog and one without.
Because I only have a ¾ eighth-half knowledge of the subject, I spent a lot of time immersed in the sources mentioned above. And I consulted AI—which feels like playing pin the tail on the donkey in a minefield.
The recipes I eventually settled on were weighed out dry and soaked in plenty of water for a week. The portion of the base Witgert “11” clay came from scraps that I always save for things like slip.
After that week, I mixed everything thoroughly (using a paint mixer and a cordless drill). Once everything had settled, I removed the excess water and let it thicken in the air.
I first mixed a single sample of each recipe, dried it on a plaster bat, wedged it thoroughly, and made a test piece.
The test piece can tell me about shrinkage after the final firing, I can see the color and texture, and test water absorption.

After Firing
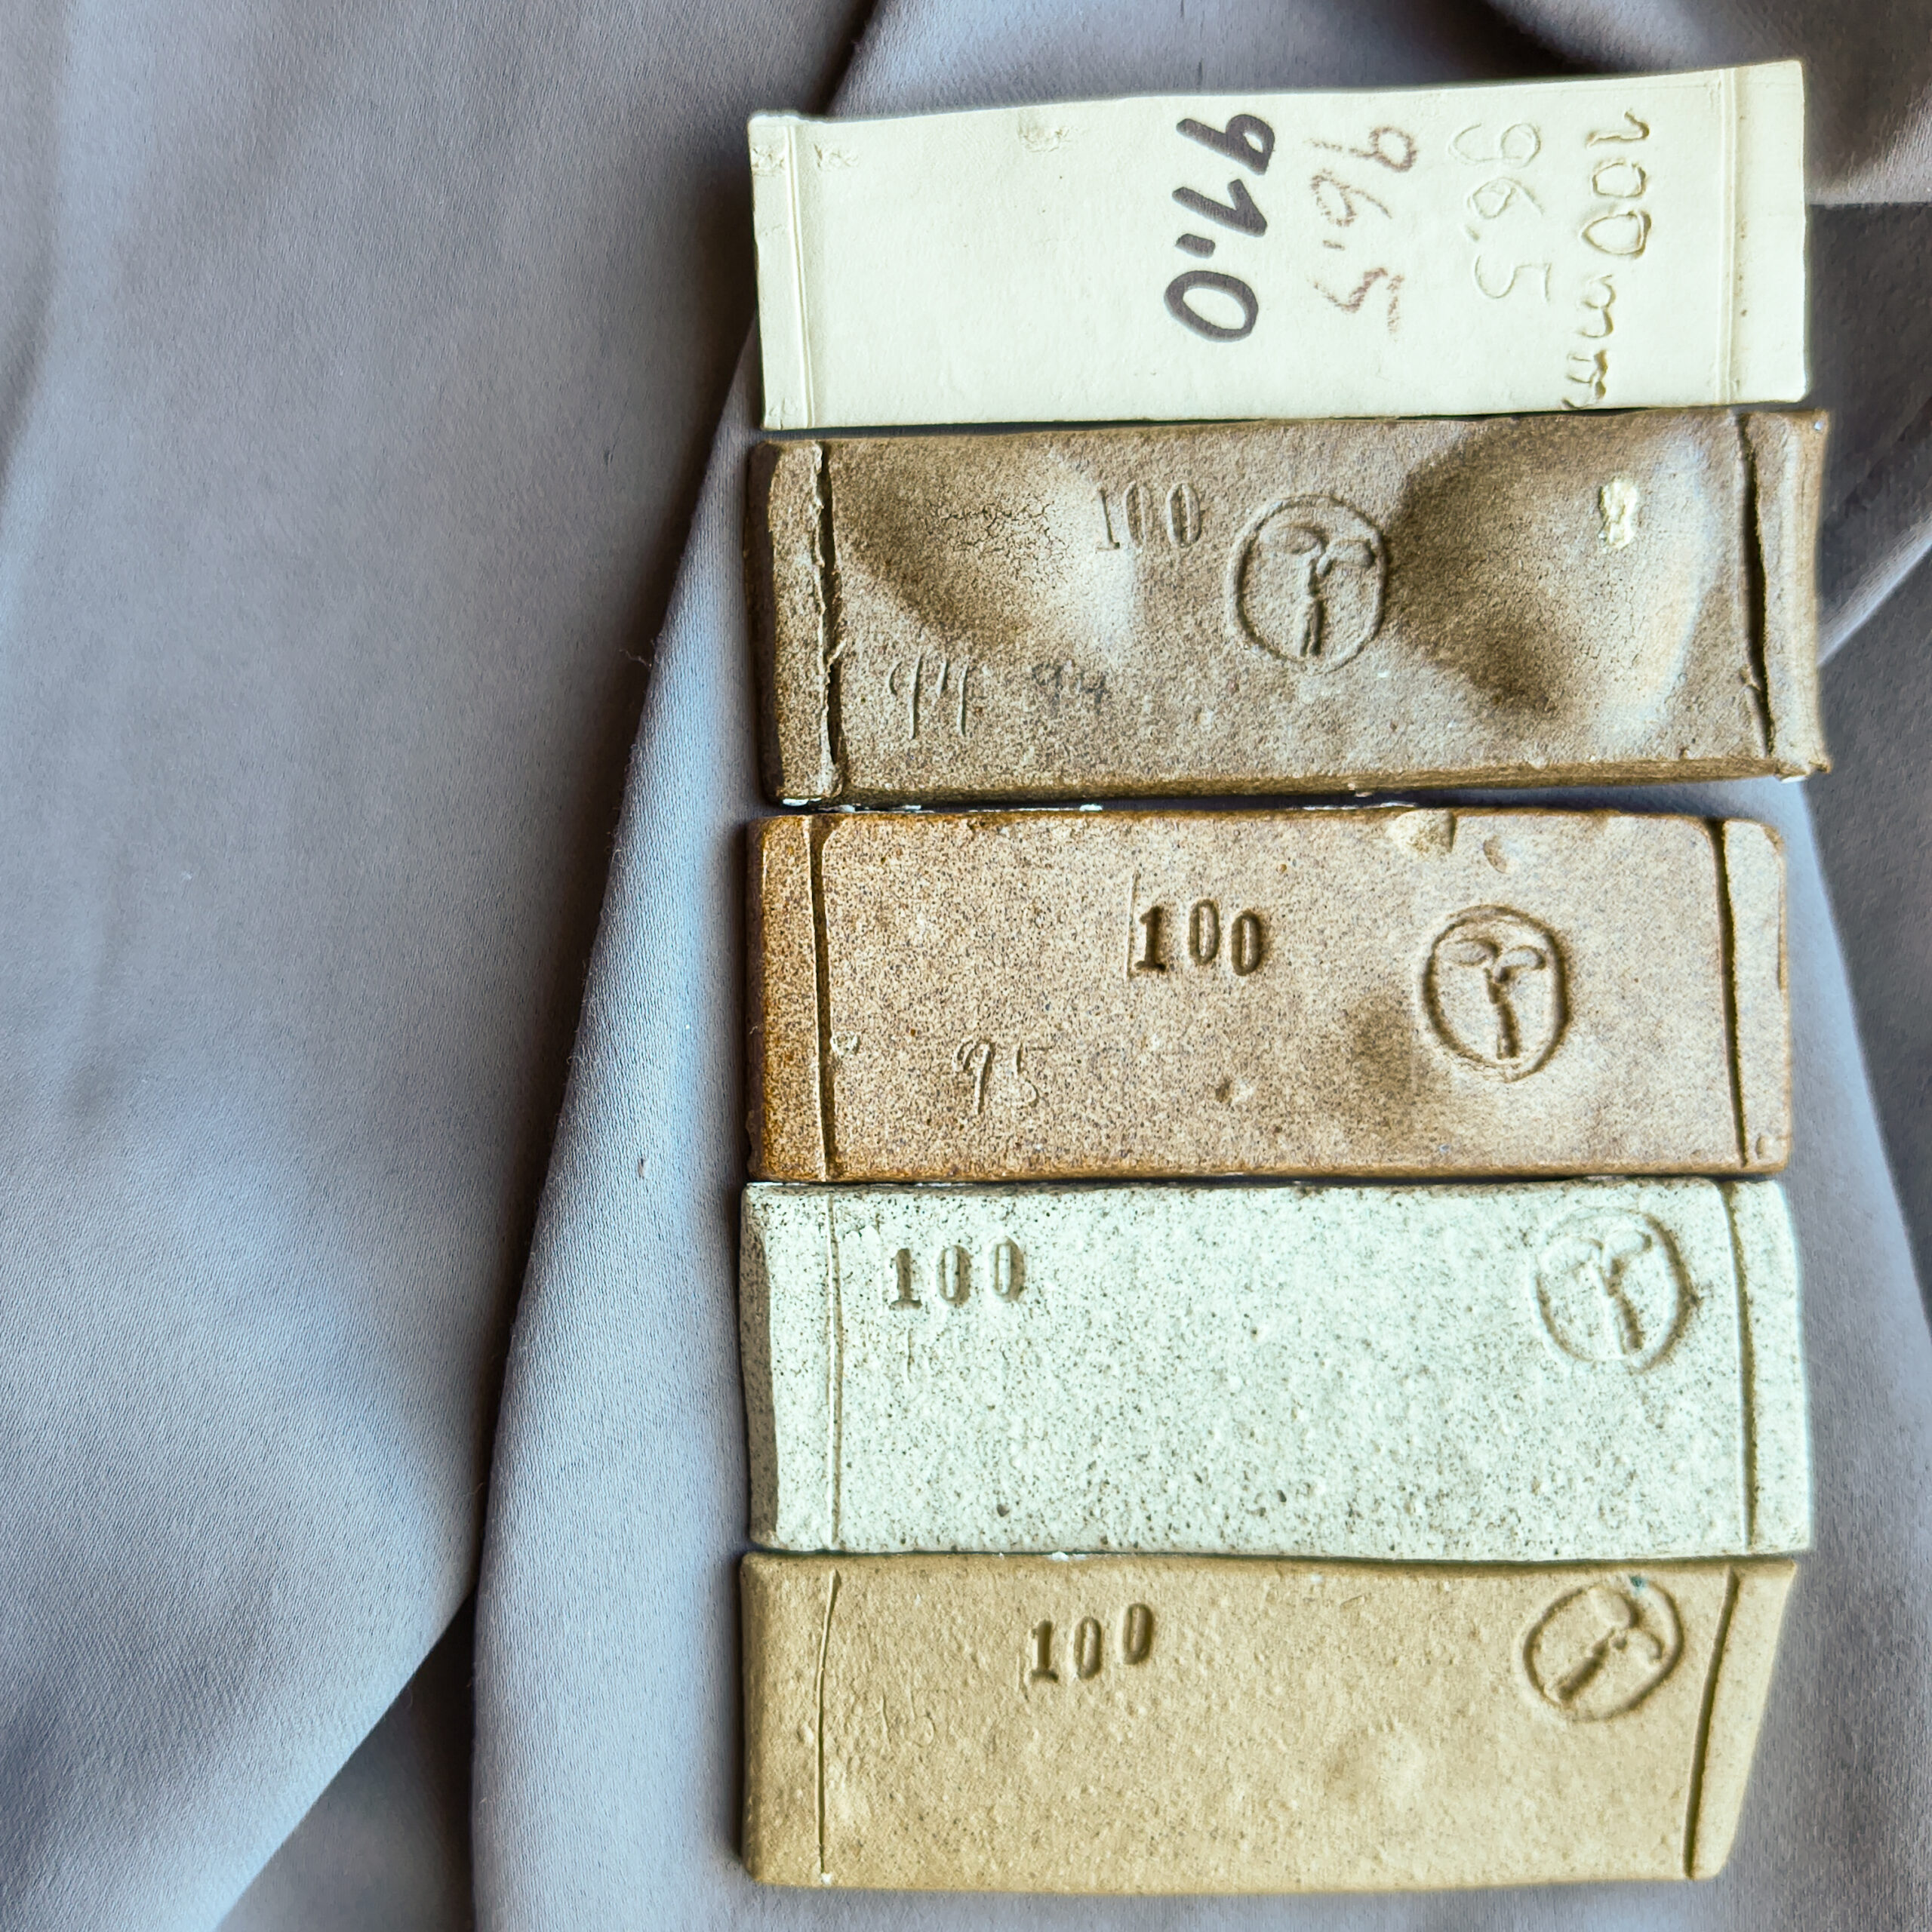
After the oxidizing firing at 1240°C, the samples look completely different.
At the very top, I added a shard of unmodified Witgert 11 as a reference. Please imagine the next two swapped—you can tell by the position of the stamps.
Samples #2 and #3 are basically eliminated here, although I really like the middle sample for its color and liveliness. But the bubble formation during firing is a devastating verdict.
Shrinkage
The lengths originally marked at 100 mm (measured in 0.5 mm increments) are now:
- 91.0 mm = 9% shrinkage
- 90.0 mm = 10% shrinkage
- 91.5 mm = 8.5% shrinkage
- 91.0 mm = 9% shrinkage
- 90.0 mm = 10% shrinkage
All samples have in common that, unlike the base material, they’ve acquired a silky sheen—which indicates the beginning of vitrification. That’s exactly what I want so the shard itself is watertight.
Premature vitrification prevents gases from escaping and encourages bloating.
Water Absorption
The goal is a water absorption of 0.5 wt% or less.
Samples #2 and #3 are eliminated because the bubble formation disqualifies these recipes.
Recipes #4 and #5 also formed bubbles—but much fewer. I can continue with these.
Water absorption is determined by weighing the samples dry and then boiling them in water. Basically: simulated tea brewing.
Water penetrates into pores and is even “drawn” in during cooling because the heated gas inclusions contract.
Finally, the boiled and cooled sample is weighed again and the weight increase compared to the initial weight is calculated as a percentage.
The water absorption rates after 20 minutes of boiling are (scale readability 0.05 g at around 30 g sample weight):
- 28.00 g dry: absorption 0.4% (data sheet value 0.5%)
- 33.25 g dry: absorption 6.9%
- 32.60 g dry: absorption 4.3%
Here, despite visible vitrification, the bubbles make themselves known again. These are exactly the voids that cause the material to crack in frost.
Interim Conclusion
The next recipe, sample #6, should be based on sample #4. I’ll need to reduce the flux content slightly—but at the same time I want to bring a color tint into the material.
I’ll partly achieve this by sieving the grog from 0-1 mm to 0.5-1.0 mm. This way, the coloring oxide of the finest particles can’t develop any significant flux effect.
I’m also trying to add manganese carbonate—or an already calcined form to minimize outgassing.
A variant of this should become cobalt blue—I simply love the color. Another advantage of sample #7 could be that cobalt is an extremely strong colorant and thus contributes little to flux.
The disadvantage could be that I need to have the safe binding of cobalt in the matrix examined in a laboratory at considerable expense.
The next part will show.
Leave a Reply